How I Moved My Blog From WordPress to EmDash (Mostly, I Asked Claude)
After 20 years on WordPress, I moved my blog to EmDash and Astro. How I did it? I used Claude. Here’s the step-by-step for the nerds.
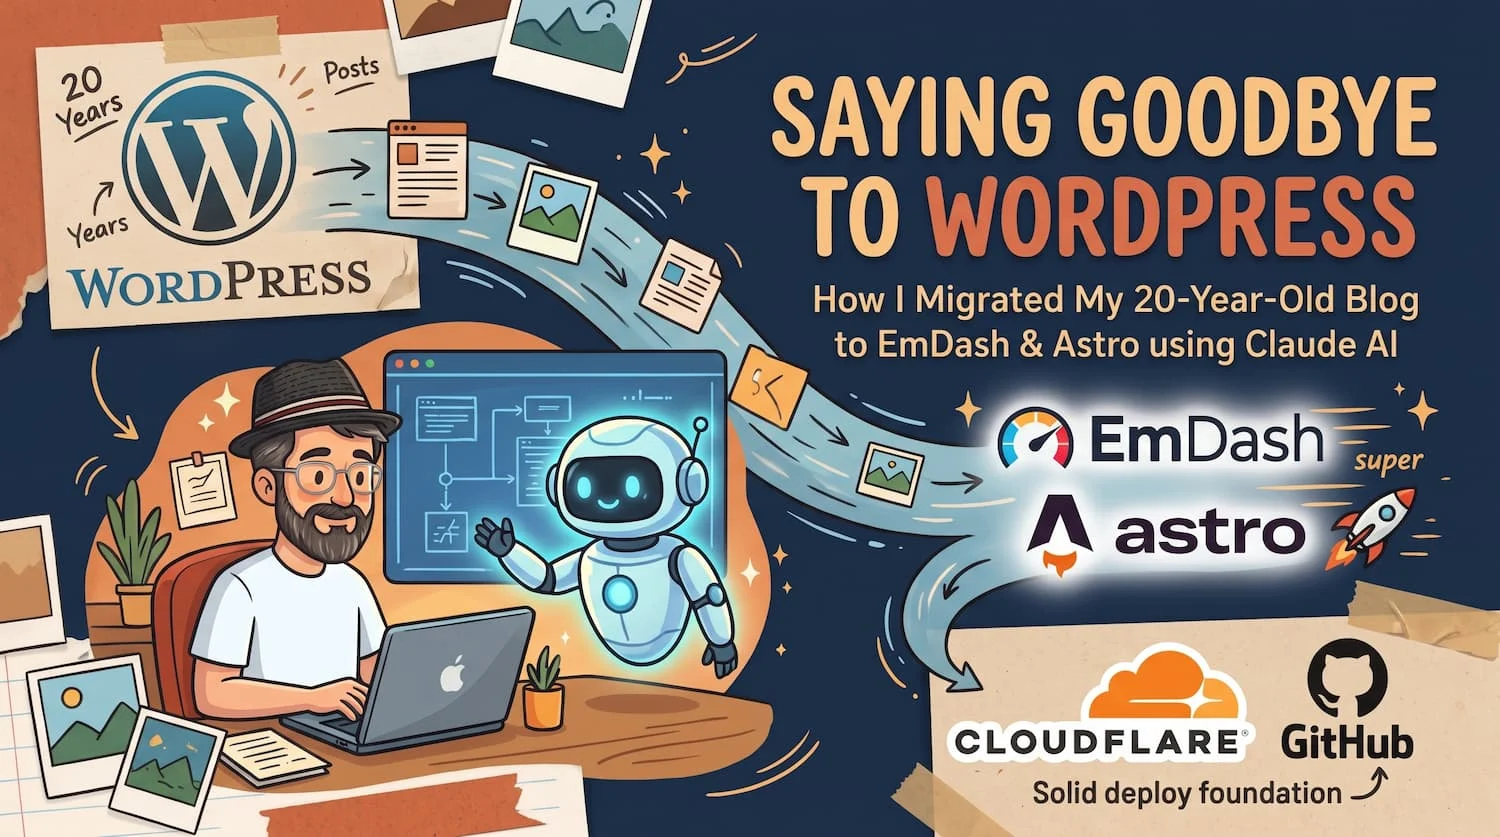
I started my first WordPress blog more than 20 years ago. I had high hopes of gaining readers and influence. I gained neither. When I started, I wrote about spirituality. Over time, I shifted to leadership, marketing, and eventually meandered into whatever interested me. Those hopes I had for influence became hopes for posterity that my children might (but likely will not) one day appreciate. So today, I mostly write for myself, and the brave few willing to endure my ramblings.
I started my blog on WordPress because it was easy to set up and easy to use. Over the years, I kept it there because it was easy, and I liked the WordPress community. Sadly, WordPress today is not what it once was. The community is fracturing, and some of the WordPress leadership drives away the previously faithful.
At the same time, WordPress really hasn’t evolved with the times. The software is bloated and slow.
And with the emergence of AI tools, it’s largely unnecessary.
So, when it was time for a blog refresh, I looked elsewhere. And, on the advice of a friend, I built my new blog on EmDash and Astro.
So far, I’m very impressed. EmDash seems pretty easy to use, and my site has the best site speed scores I’ve ever seen, and I’ve built A LOT of websites in my career.
If you are looking to move from WordPress to EmDash (built on Astro), here is what I did. I used Claude.
Really, that’s the gist of it. I went to Claude, told it what I wanted it to do, and it did it all for me, as I answered questions along the way. If you want the specifics (for the nerds in the bunch, I see you), here they are (written by Claude, ’cause, you know):
Before you start
Get these lined up first so you aren’t stopping mid-build to create accounts.
- Your WordPress export. In WordPress, go to Tools → Export → All content. You get one XML file (called a WXR file) with every post, page, category, and image reference.
- A Cloudflare account with your domain’s DNS already managed there. Plan on the Workers Paid plan (about $5 a month). You need it for R2 media storage and for the email service.
- A GitHub account with an empty repository for the site’s code.
- Claude with tools turned on: a Claude session that can run code, plus Claude in Chrome so it can click through the Cloudflare and GitHub dashboards for you while you’re signed in.
- Your newsletter address if you use one (Substack, for example), and the email address where contact-form messages should go.
- A few photos: a headshot and anything else you want on the site.
You don’t need to know Astro or write code. You do need to make decisions, approve steps that touch your accounts, and occasionally click a button Claude can’t reach.
Step 1: Design the site with Claude, one question at a time
Start with a prompt like this:
I want to redesign and rebuild my site, currently on WordPress, on EmDash and Astro. Ask me questions one at a time so we can design it first. Once you have what you need, start building the design.
Asking for one question at a time matters. You answer each with a quick pick instead of filling out a long questionnaire, and every answer shapes the next question. Expect questions like these:
- What is the site for (personal brand hub, business site, blog only)?
- Keep your current tagline, or write a new one?
- What should the visual mood be? (I went with warm and handmade: paper textures, tape, polaroids, a handwritten accent font.)
- Reuse anything from the old design, or start fresh?
- Which page groups do you need?
- Which newsletter platform do you use?
Claude then produces a design you can look at and react to. Review it the way you’d review a designer’s first draft: say what feels off, not just what you like.
Step 2: Get the messaging right before you build
The first design draft will use your old messaging. This is the cheapest moment to change it, because nothing is built yet. Go page by page and tell Claude what’s true now:
- What you offer. Name the services you actually sell and drop the ones you don’t. On my site, two old services came off, and my work became two “hats” (Fractional CMO and Technology Lead), plus a separate section for nonprofits.
- Balance. If you do more than one kind of work, ask for the homepage to give each equal weight instead of leading with only one.
- Your one-liner. Rewrite any tagline that no longer fits. Claude can offer a few options for you to pick from.
- What’s active. List only current projects. Old podcasts, retired brands, and past companies come off or get a one-line “previously.”
- Pages you’ll need. Ask for them now: a blog list, a Speaking page, a Now page, a contact form.
- Placeholders. It’s fine to say “make up the talk descriptions for now” and fix them later. Keep a list of what’s a placeholder.
When the design and copy feel right, ask: “What’s the next step for building this in Astro with EmDash?”
Step 3: Build the site from the EmDash starter
Tell Claude where you’ll host (Cloudflare) and give it the GitHub repository name. Claude then does the following, and you approve the steps that install software or touch your accounts:
- Starts from EmDash’s Cloudflare blog template. If the usual
npm create emdashcommand fails, Claude can copy the template straight from EmDash’s GitHub repository instead. - Rebuilds the template in your design. It turns the approved design into Astro pages, a shared layout, and a small design system (colors, fonts, buttons, cards).
- Defines your content in a seed file (
seed/seed.json): site title, tagline, post URL pattern, categories, and byline. - Wires up forms. The newsletter box posts straight to Substack’s signup endpoint, so you don’t need Substack’s embed code. The contact form posts to a small server route that sends you an email (set up in Step 4).
- Adds your photos to the pages that need them, compressed to WebP so they load fast.
- Runs it locally so you can review the real site before anything goes online.
When it looks right, Claude commits the code and pushes it to your GitHub repository.
Step 4: Deploy on Cloudflare
Deploy the empty site first and import your posts second. The importer runs inside the live site’s admin, so the site has to be up before you can use it.
- Connect the repo with Workers Builds. In the Cloudflare dashboard, create a Worker from your GitHub repository. After that, every push to main builds and deploys automatically. Claude can do this for you in Chrome while you’re signed in.
- Create the storage the site needs. That’s a D1 database for content, an R2 bucket for images, and a KV namespace for sessions. All three are listed in
wrangler.jsonc. - Turn on the Workers Paid plan and R2 if you haven’t already. The first deploy fails without R2.
- Set up email sending on a subdomain. In Cloudflare Email Service, add a sending domain such as mail.yourdomain.com, not your root domain. If your inbox runs on Microsoft 365 or Google Workspace, this leaves your existing MX and DMARC records alone, so your normal email keeps working. Add a
send_emailbinding towrangler.jsoncso the contact form and admin sign-in emails can go out. - Turn on Observability logs in
wrangler.jsonc. When something fails later, the logs tell you why.
At this point the site is live on a *.workers.dev address. Use that address to finish setup before you touch your real domain.
Step 5: Import your WordPress posts and images
- Give Claude your export file and ask it to clean it up. Claude strips out what the importer doesn’t need (revisions, drafts, attachment noise, other plugins’ data). For my site, that took a 12 MB export down to a much smaller file holding 414 posts.
- Run the importer in your site’s admin at /_emdash/admin. Choose the WordPress import, upload the cleaned file, and let it analyze and then import. It works through the posts in batches.
- Import the media. After the posts finish, run the media step. It copies each image from your old WordPress server into R2 and points the posts at the new copies.
- Add redirects for your old links. WordPress URLs such as /2014/03/my-post/ and /category/marketing/ need to forward to the new ones. Claude adds permanent (301) redirects so old links and search rankings keep working, plus redirects for retired pages such as /blog, /about, and /contact.
- Spot-check a few old posts. Look for images that still load from the old server. Those need re-uploading before you cancel your old hosting.
Step 6: Organize your categories
Years of WordPress blogging usually leave a pile of overlapping categories. Fix that after the import, once you can see them all.
- Group, don’t delete. Ask Claude to map the old categories into a handful of display groups. My site went from about 25 categories down to five: Marketing, Technology, Leadership, Family, and Living / Perspective. The posts keep their original categories, and the site shows the group.
- Hide what doesn’t fit anymore. You can mark a group as hidden. Its posts drop out of the blog list, category pages, search, related posts, and RSS, but each one still works at its direct link.
- Redirect old category URLs to their new group so outside links don’t break.
- Show uncategorized posts too. Make sure new posts with no category still appear in your lists. A filter that only shows posts in known groups will quietly hide anything you publish without picking a category.
Step 7: Go live on your domain
When the workers.dev version looks right, switch your domain over:
- Delete the old DNS records pointing at your WordPress host. That’s usually an A record on the root domain and a CNAME for www. Leave your mail records (MX, SPF, DKIM, DMARC) alone.
- Add your domain and www as Custom Domains on the Worker. Cloudflare creates the new records and the SSL certificate.
- Pick one version of the address. Claude adds a redirect from www.yourdomain.com to yourdomain.com, so search engines see one site.
- Test it. Load the homepage, an old post URL, an old category URL, and the RSS feed. Then send yourself a message through the contact form.
- Set up admin sign-in on the real domain. Go to yourdomain.com/_emdash/admin, not the workers.dev address. Passkeys only work on the domain where you created them, so create a new one on your real domain.
Keep your old WordPress hosting for a few weeks before you cancel it, until you’re sure nothing still depends on it.
Twenty years in, WordPress and I are done. I still mostly write for myself, and the brave few willing to endure my ramblings.
At least now they load fast.